I am an adventurous eater, especially when it comes to ice cream. So today, I am going to share out of my favorite flavor: Coconut. You can try it at home and is very simple to make. It only needs 3 ingredients :) Enjoy!
To freeze without an ice cream maker
No ice cream maker? No sweat.
You can make this without an ice cream maker, though it won’t be exactly the same consistency. Ice cream makers basically work by churning a ton of air into the mixture. If you beat the ice cream mixture by hand, it’ll be denser and a little coarser, because you won’t be able to get as much air into it by hand. That said, here’s what to do:
1. Make the coconut ice cream mixture.
2. Pour it into a large, freezer-safe bowl.
3. Freeze for about 30 minutes. Take it out of the freezer and whisk it briskly (or churn using an electric immersion blender). Return to the freezer.
4. Repeat step 3 every 30 minutes until your ice cream is creamy and frozen through.
2. Pour it into a large, freezer-safe bowl.
3. Freeze for about 30 minutes. Take it out of the freezer and whisk it briskly (or churn using an electric immersion blender). Return to the freezer.
4. Repeat step 3 every 30 minutes until your ice cream is creamy and frozen through.
3-Ingredient Coconut Ice Cream
2 (13-oz.) cans of coconut milk
1 3/4 cups sugar
2 teaspoons vanilla extract
1 3/4 cups sugar
2 teaspoons vanilla extract
Makes about 1 quart
Chill the coconut milk
When you make ice cream, you want to start with cold ingredients. It makes the freezing process that much easier. So, if you can, chill the cans of coconut milk for at least 4 hours before making your ice cream.
Blend the ingredients
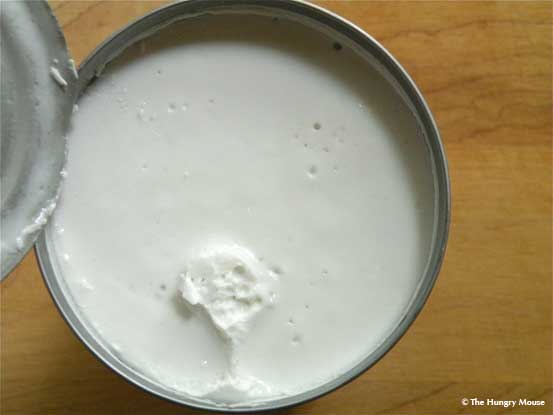
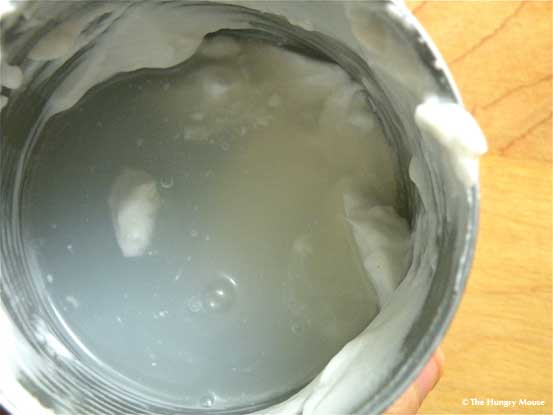
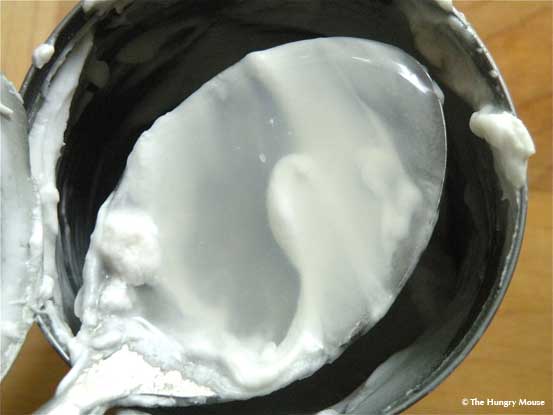
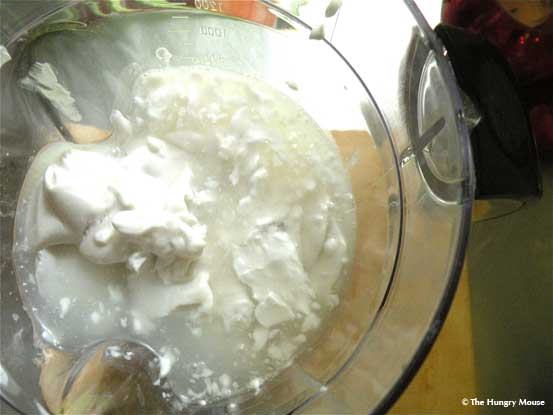
Crack open your cans o’ coconut milk. Coconut milk naturally separates, so you’ll have a thick, white layer on top (which contains the fattier solids), and watery liquid below. That’s just fine.
Empty the contents of the cans into your blender. Scrape the can, get it all out.
(Bleh, right? Don’t worry. The blender will re-emulsify this mess into gorgeous, silky, homogenous coconut milk.)
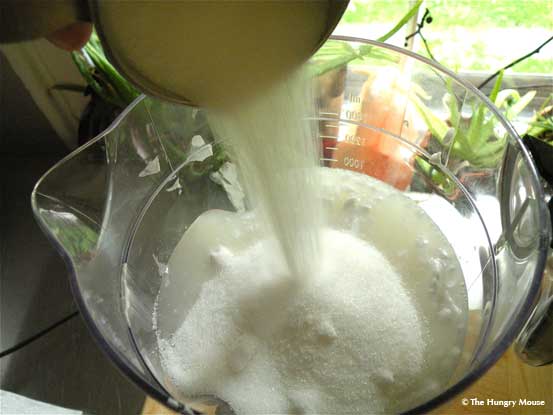
Add the sugar and vanilla.
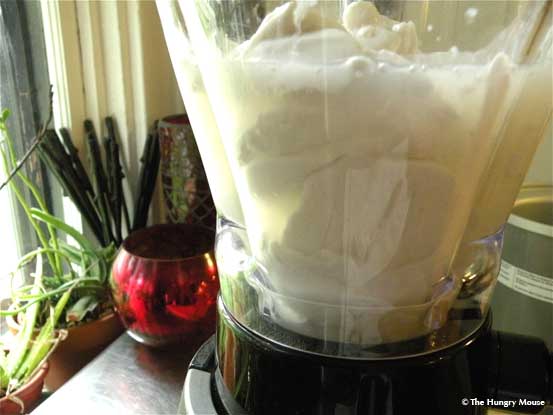
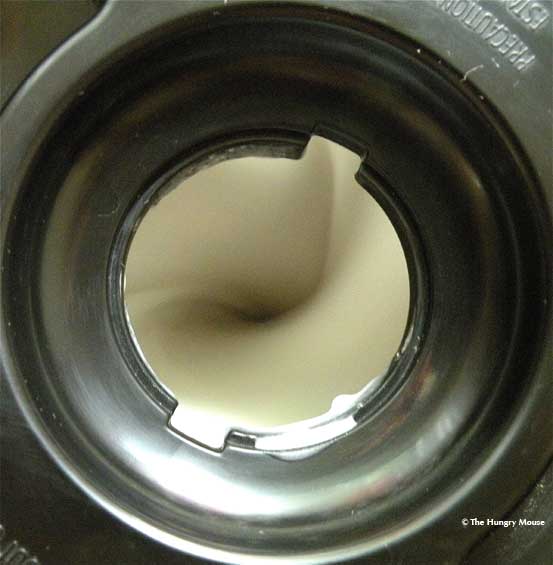
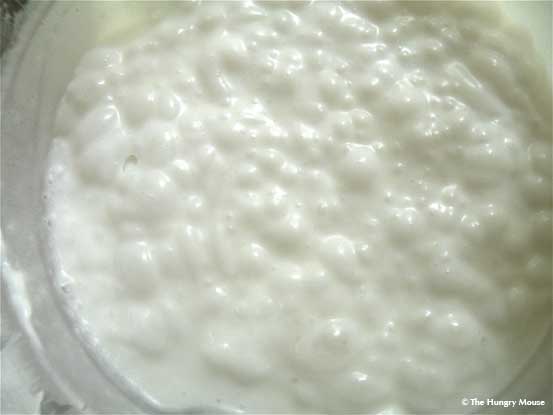
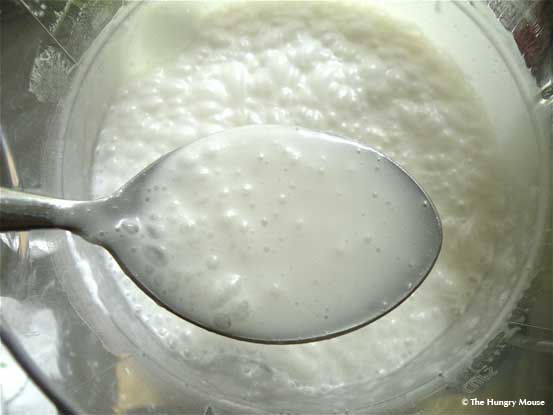
Blend until smooth.
It will look about like this when done. The bumps you see are bubbles.
Give it a quick taste. If you want to add extra sugar or more vanilla, now’s the time to do it. (If you want to add anything solid, like shredded coconut or mini chocolate chips, add those in the last 5 minutes of processing when you have it in your ice cream maker.)
That’s it. That’s your ice cream base. Pretty simple, right?
Process in your ice cream maker
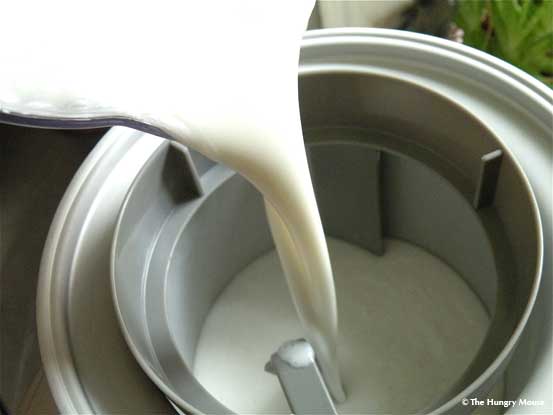
Pour the mixture into your ice cream maker and process according to the manufacturer’s instructions.
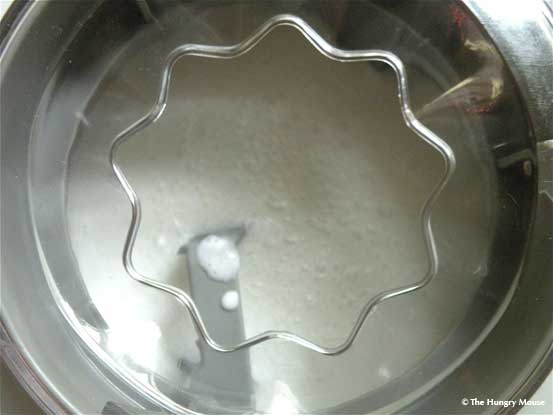
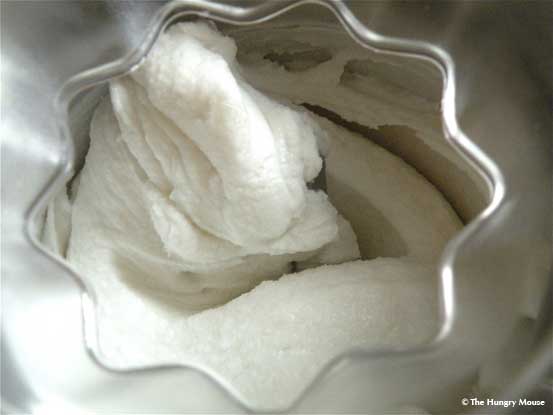
It will transform from this:
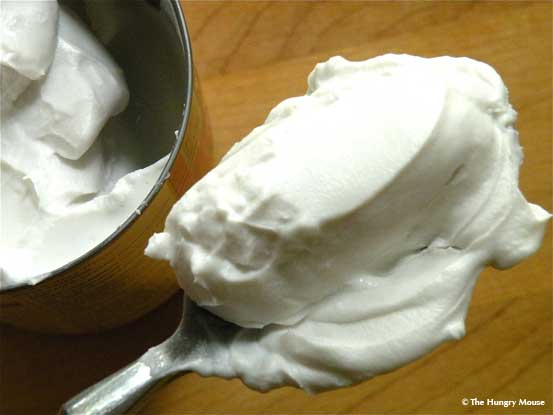
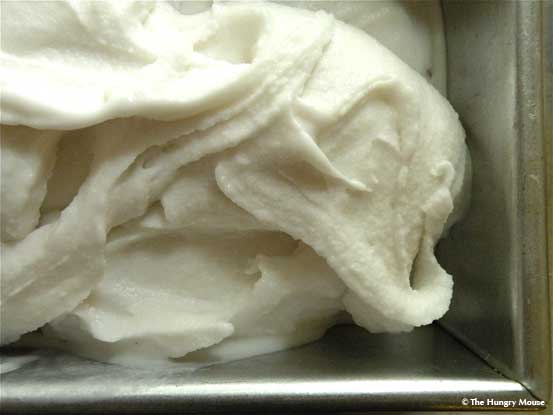
To this:
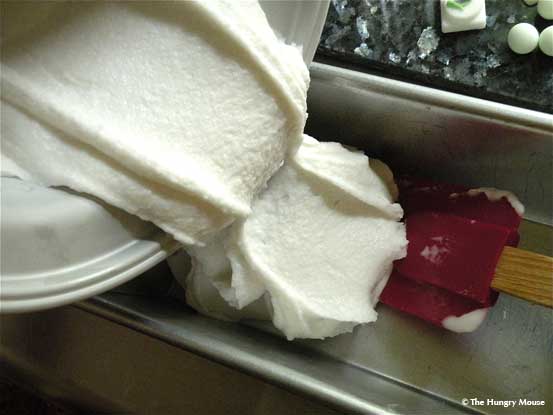
When it’s done, transfer it to a freezer-safe container. I like to use 1-lb. bread pans. They hold a quart of ice cream nicely.
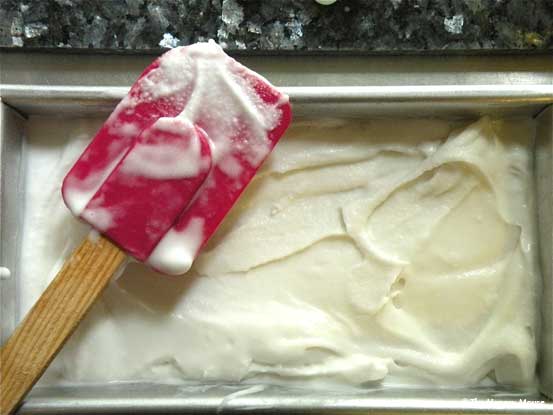
Smooth the top down with a spatula.
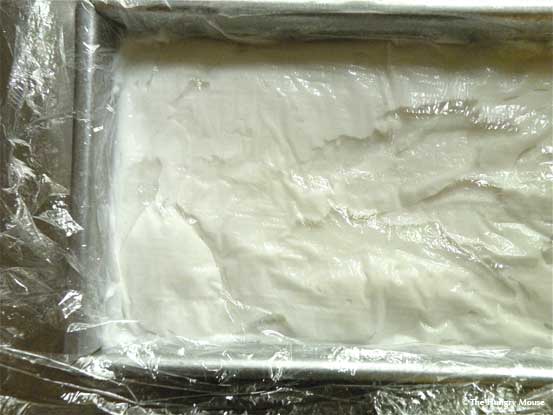
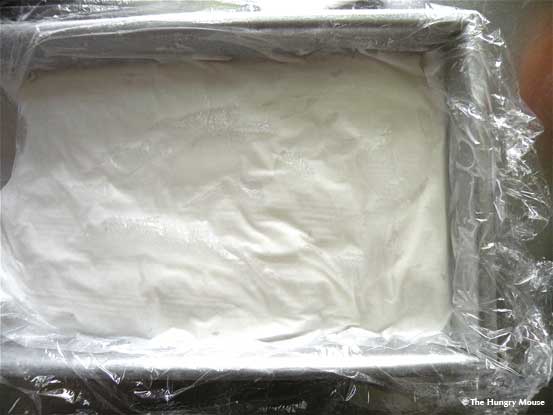
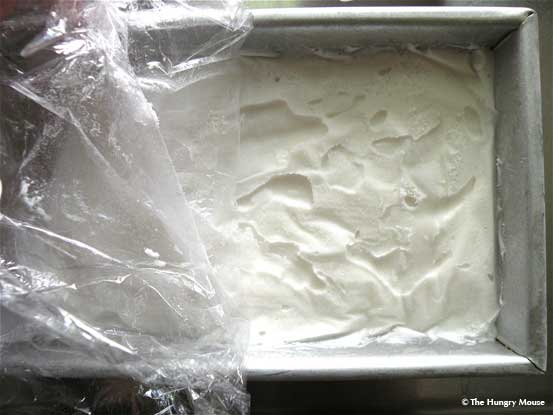
Press a piece of plastic wrap to the surface of the ice cream. Pop it into your freezer and freeze overnight or until solid.
Serve & enjoy!
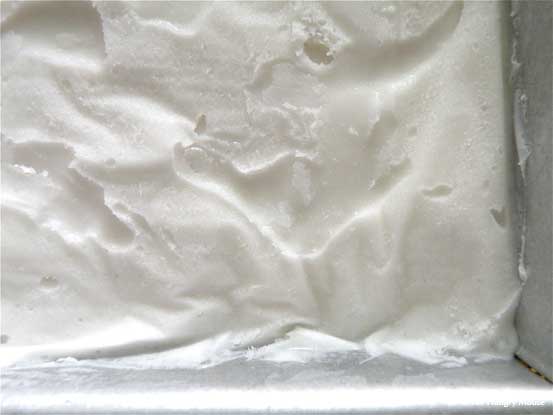
This ice cream doesn’t really freeze rock solid, which means it’s pretty scoopable right out of the freezer. (No waiting? Yes, please!)
Enjoy!
This is delicious as a stand-alone treat. But, if you want to kick it up a notch, make a Mounds- or Almond-Joy inspired sundae. Drizzle with hot fudge and sprinkle with dark chocolate shavings and sliced, toasted almonds.


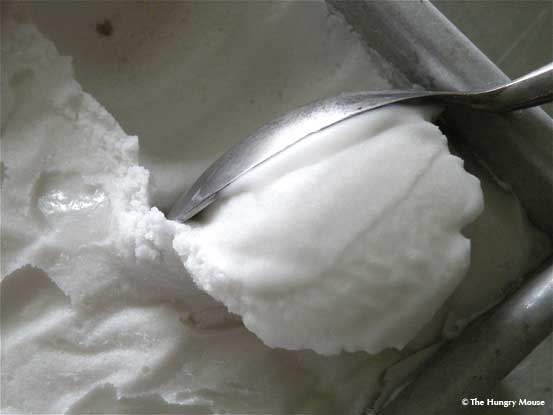
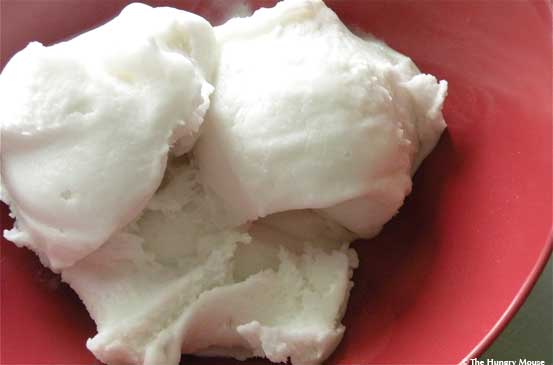
simple and worth the try!
ReplyDelete